This tutorial is available as a video tutorial and a post. You can either watch the tutorial video below, or scroll down further to read step by step process.
In the previous post I shared my technique on how I modeled a highway style looped road track in Blender and then imported in to Godot Engine.
I decided to continue that project by adding a car and showing how to use the VehicleBody node, add player controls and some sounds.
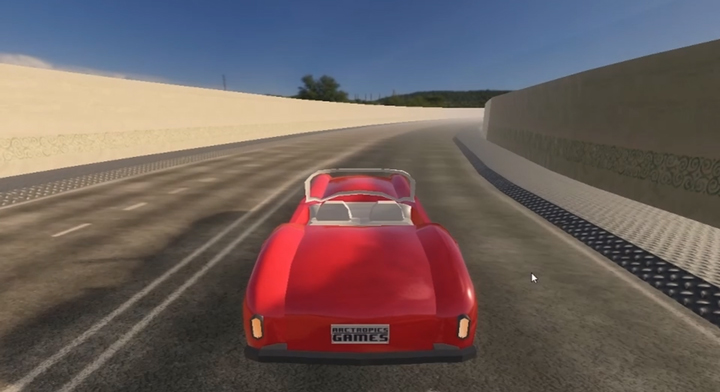
I will be using a car that I modeled in blender. You can download and use it if you’d like or if you want to use a model of your own, you can go ahead and do that as well. The process is pretty much the same.
So let’s start with Blender. We have to make a few adjustments to our model before we export for Godot Engine and make the driving game.
First step is to save a copy of the original blend file before we make any changes to it. This way if we mess up anything we can start from the beginning. Also, since we will be applying all the modifiers before exporting the model, it makes sense to keep a model with all the modifiers just in case we later decide to make changes to the model.
The car model I made has a Subdivision Surface modifier applied to it. We first need to remove the Subdivision Surface modifier from all different parts of the car. Since we are going to use this model for a game so let’s keep the number of polygons limited.

Make sure you do not remove the Mirror modifier from any of the objects. After you have removed the Subdivision Surface modifier, let’s apply the Mirror modifier for all the different parts of the car.

We can also select an option to apply all the modifiers while exporting the model but, I prefer to apply modifiers myself so that I know that all of them have been applied correctly and the model looks and behaves as desired.
The next important thing to do before we export for Godot is to make sure that each wheel is a separate object and has it’s origin set at it’s center. This is a very important step otherwise the wheels might not move correctly in Godot,
Select the front wheel. If both front wheels are joined then enter the edit mode by hitting Tab, press Alt + A to deselect everything and then select any one vertex on the left wheel and press Ctrl + L. This will select all linked vertices.
To separate them press P to get the Separate menu and select Selection option to separate the selected wheel from the other. This will separate the selected pixels and make a new object.

Press Tab to exit edit mode. Now you can see that the left and right front wheels are two different objects.
Select the rear wheels and this time let’s separate them using Loose Parts option since the vertices of the left and right wheels are not joined. Hit Tab to enter the Edit Mode and then press {P}. This time choose Loose Parts option.
Now all 4 wheels should be separate objects. If you look closely at the wheel you will notice that the center point of the wheel is not exactly where the front wheel rotates when steering, so for the wheels we will change the origin points.

Select a wheel and hit {Tab} to enter the edit mode and select the faces at the backside of the wheel. Press Shift + S and select Cursor to Selection. This will bring the cursor to the center of the selected faces.
Now hit {Tab} to exit Edit mode and then go to the window menu -> Object -> Set Origin and select Origin to 3D Cursor. After this you can will notice that the origin point of the wheel has changed to the center of the back side. This is the ideal pivot point for the wheels when steering or rotating.
Do this for the remaining wheels and save the file.
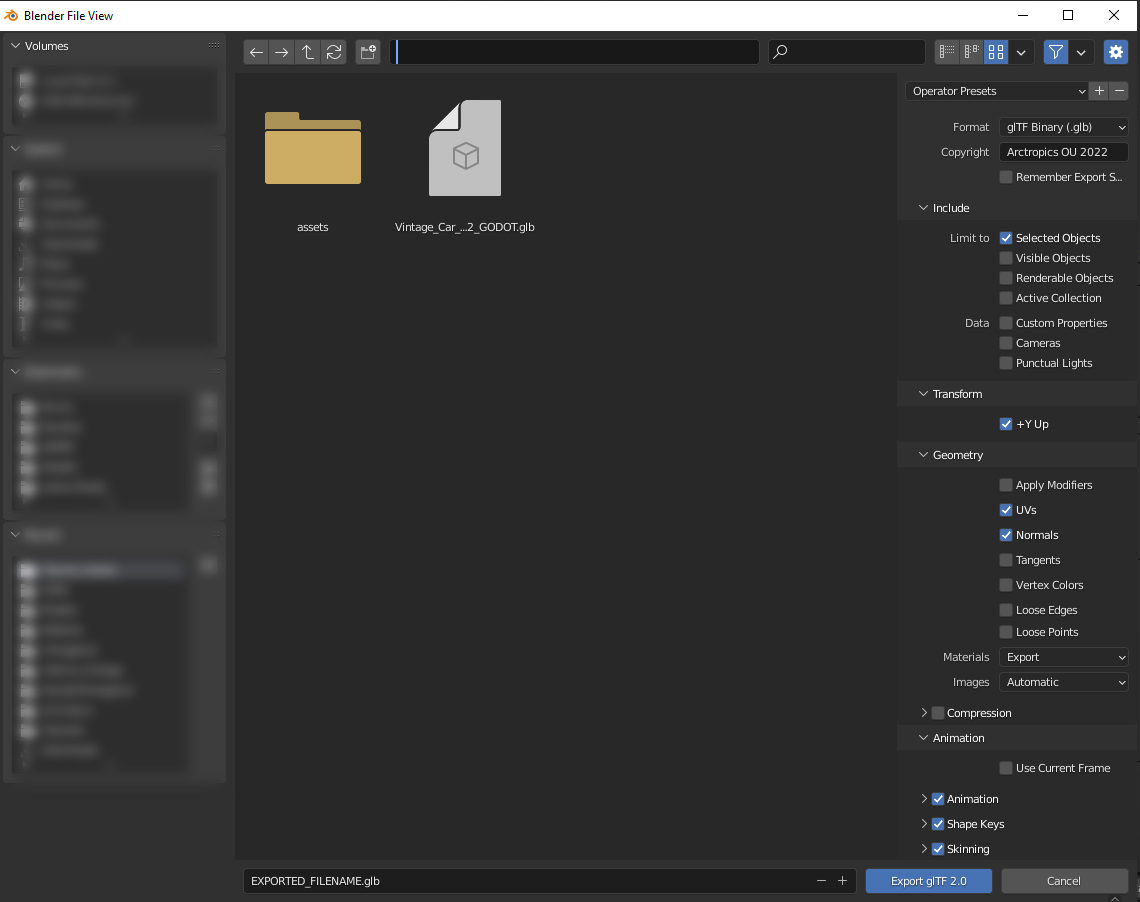
Now Select the car body parts and the 4 wheels. Then go to the main menu -> File -> Export and select gLTF 20 (.glb.,gltf) option to export in format that is easily understood by Godot Engine.

In the export Window, choose format as gLTF binary
In the Include section check Selected Objects to make sure we export only the selected objects. The other options under this section should be unchecked.
Make sure that in the transform section Y-Up is checked.
In the Geometry section UV and Normals are checked and the rest are unchecked.
Give a filename and location and hit Export gTLF 2.0 button.
Now we should have our Godot compatible model. Let’s now Import the model in Godot and setup the VehicleBody Node.
I am using version 3.4.2 for this video and I recommend minimum version 3.4 for this tutorial to go smoothly without any issues.
I will be using a highway racetrack in this video. I made a tutorial on how to model this track in blender and import in Godot. So let’s go ahead and run Godot Engine.
Make a new project in Godot. Select a folder and then give your project a name. You can choose any name you like. Use Open GL ES 3.0 for rendering. Make a new folder under the res:// and name it Vehicle
Drag and Drop your exported model into the Godot Window under Vehicle. The Godot Engine will import the model and also make separate files for it’s textures. We now need to open the imported model to edit it. Double Click on the glb file to edit it. It will show you a dialog box, just select New Inherited option to enter the edit mode of the car model.

We have all the body parts and four wheels inside the model. Go to the root node and right-click to get the context menu. Now select Change Type option. Search for Vehicle and select the VehicleBody Node. This will change the root node from a Spatial type node to VehicleBody type node.

I will change the name of the node to Car You can see that there is a warning sign next to the VehicleBody Node. We need to add a Collision Shape for the vehicle. Let’s add a CollisionShape Node under the VehicleBody
Adjust the the box collider shape as per the shape of the vehicle. I will use two colliders shapes nodes. One for the main body and one for the windshield. If you are using any other model, then add the collision shapes as per your model’s requirement.

Now we have to add the VehicleWheel node. When I add the VehicleWheel
First I will rename the Wheels as per their position. Front Left, Rear Left, Front Right, and Rear Right. Now Select the WheelFR node and with this node selected press {Ctrl + A} and add a VehicleWheel node. This will add the VehicleWheel node under the WheelFR node.
Select the VehicleWheel node and drag it out from under the WheelFR node to the root node. Select the VehicleWheel node again and rename it to VehicleWheel_FR.
Now go to the Transform tab in the Inspector. DO NOT change the translation, but reset the rotation and the scale values.
The VehicleWheel_FR node should have aligned perfectly with the wheel now. To make sure the node and wheel have aligned properly, look out for the circle and the arrow. The circle should be in line with the wheel with the arrow pointing forward.

Now we can drag the WheelFR node under the VehicleWheel_FR node to make the wheel model a child of the VehicleWheel
Repeat the same process for the remaining wheels.
Press {Ctrl + S} to save the scene now. It will ask you for a name. I will save it as car.tscn.
We have now setup the VehicleBody and the VehicleWheel nodes. The vehicle is still not ready to hit the road yet. We need to write script to control it.
In the next post/video, I will create a scene with a road and make the car move.
Thanks for Reading!
~Vini
Make the second version of it and show how to publish the game in Play Store, I will appreciate your help.
I am working on the second part. I know it has been a while since the first one. But now with Godot 4, it will have even better graphics.